


 Hey friends!! {by the way, we’ve been at this blog thing long enough that I totally think of you as my friends now} Are you ready to learn how to create the it-hairdo of the season on yourself in just a few simple steps? Seriously, you guys, the top-knot hair trend is BLOWING UP and no wonder, it’s adorable and fun and new. On top of that, it’s super quick, super easy, and will leave you with the sassiest hairdo you ever did see!
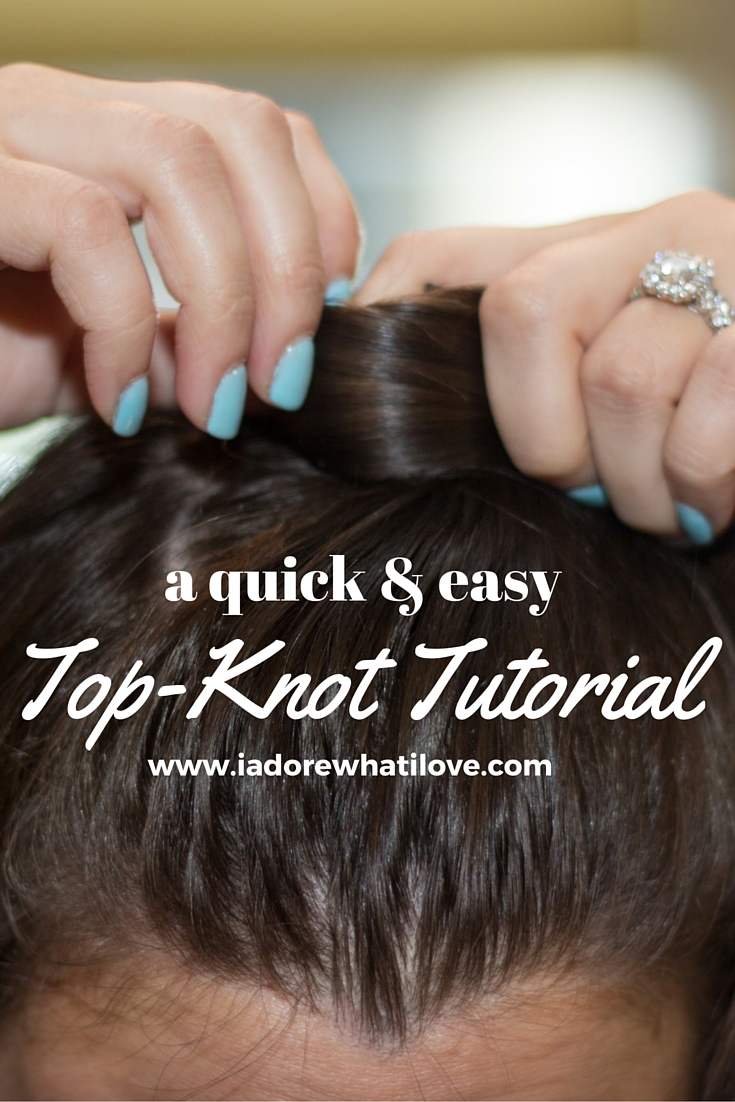
I’m sure by now you’re aware of the definition of a top-knot but just in case you might be clueless in this department {totally ok, too!}, a top-knot is, plainly, a hair knot on the top of your head! Not like a knot that you just so happened to wake up with after a rough night sleep {which by the way, I did the other night and had to cut a huge chunk of hair from my head in the morning because it was knotted sooooo terribly!! #iwishiwaskidding}, but more like an intentional knot that you purposely create for the sake of fashion. Make sense? Good!
Just to preface the tutorial, I am NO hair expert by any means BUT I have been wearing my hair like this all the time throughout the past few months, constantly getting compliments. Last month when I went to my bestie’s birthday dinner and wore my hair in a half-up, half-down top-knot, everyone there was asking how I did it and mentioned that they’d love to see a how-to on the blog! Which in turn prompted me to find out from my fave instagram followers {see above!} if they’d want to see a tutorial and the answer was a resounding yes! So, without further ado, here it is you guys!!
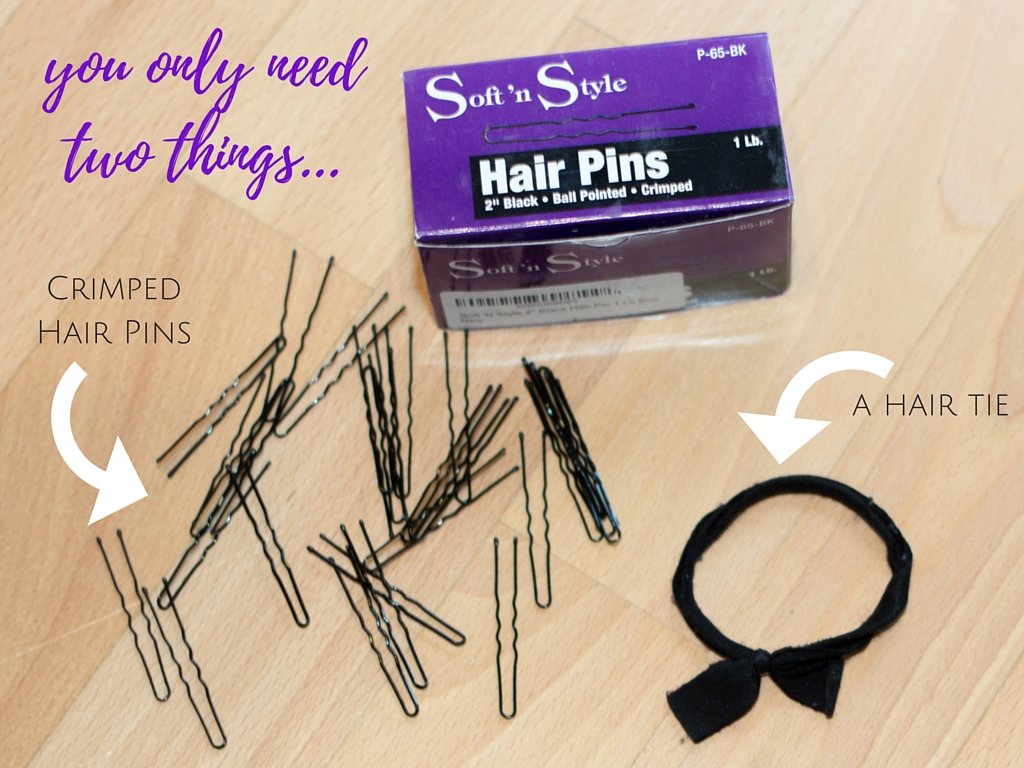
Step 1: Gather all your supplies! There are only two things you need, don’t worry! // ORDER THESE SPECIFIC HAIR PINS HERE {a regular bobby pin will NOT work}

Step 2: You’ll probably want a mirror too so you can see what you’re doing!! I showered the night before and started with “next day” hair. I literally woke up and took this photo shoot bright and early! As you can tell, I barely even brushed my hair first… but you should definitely brush yours! Ha.
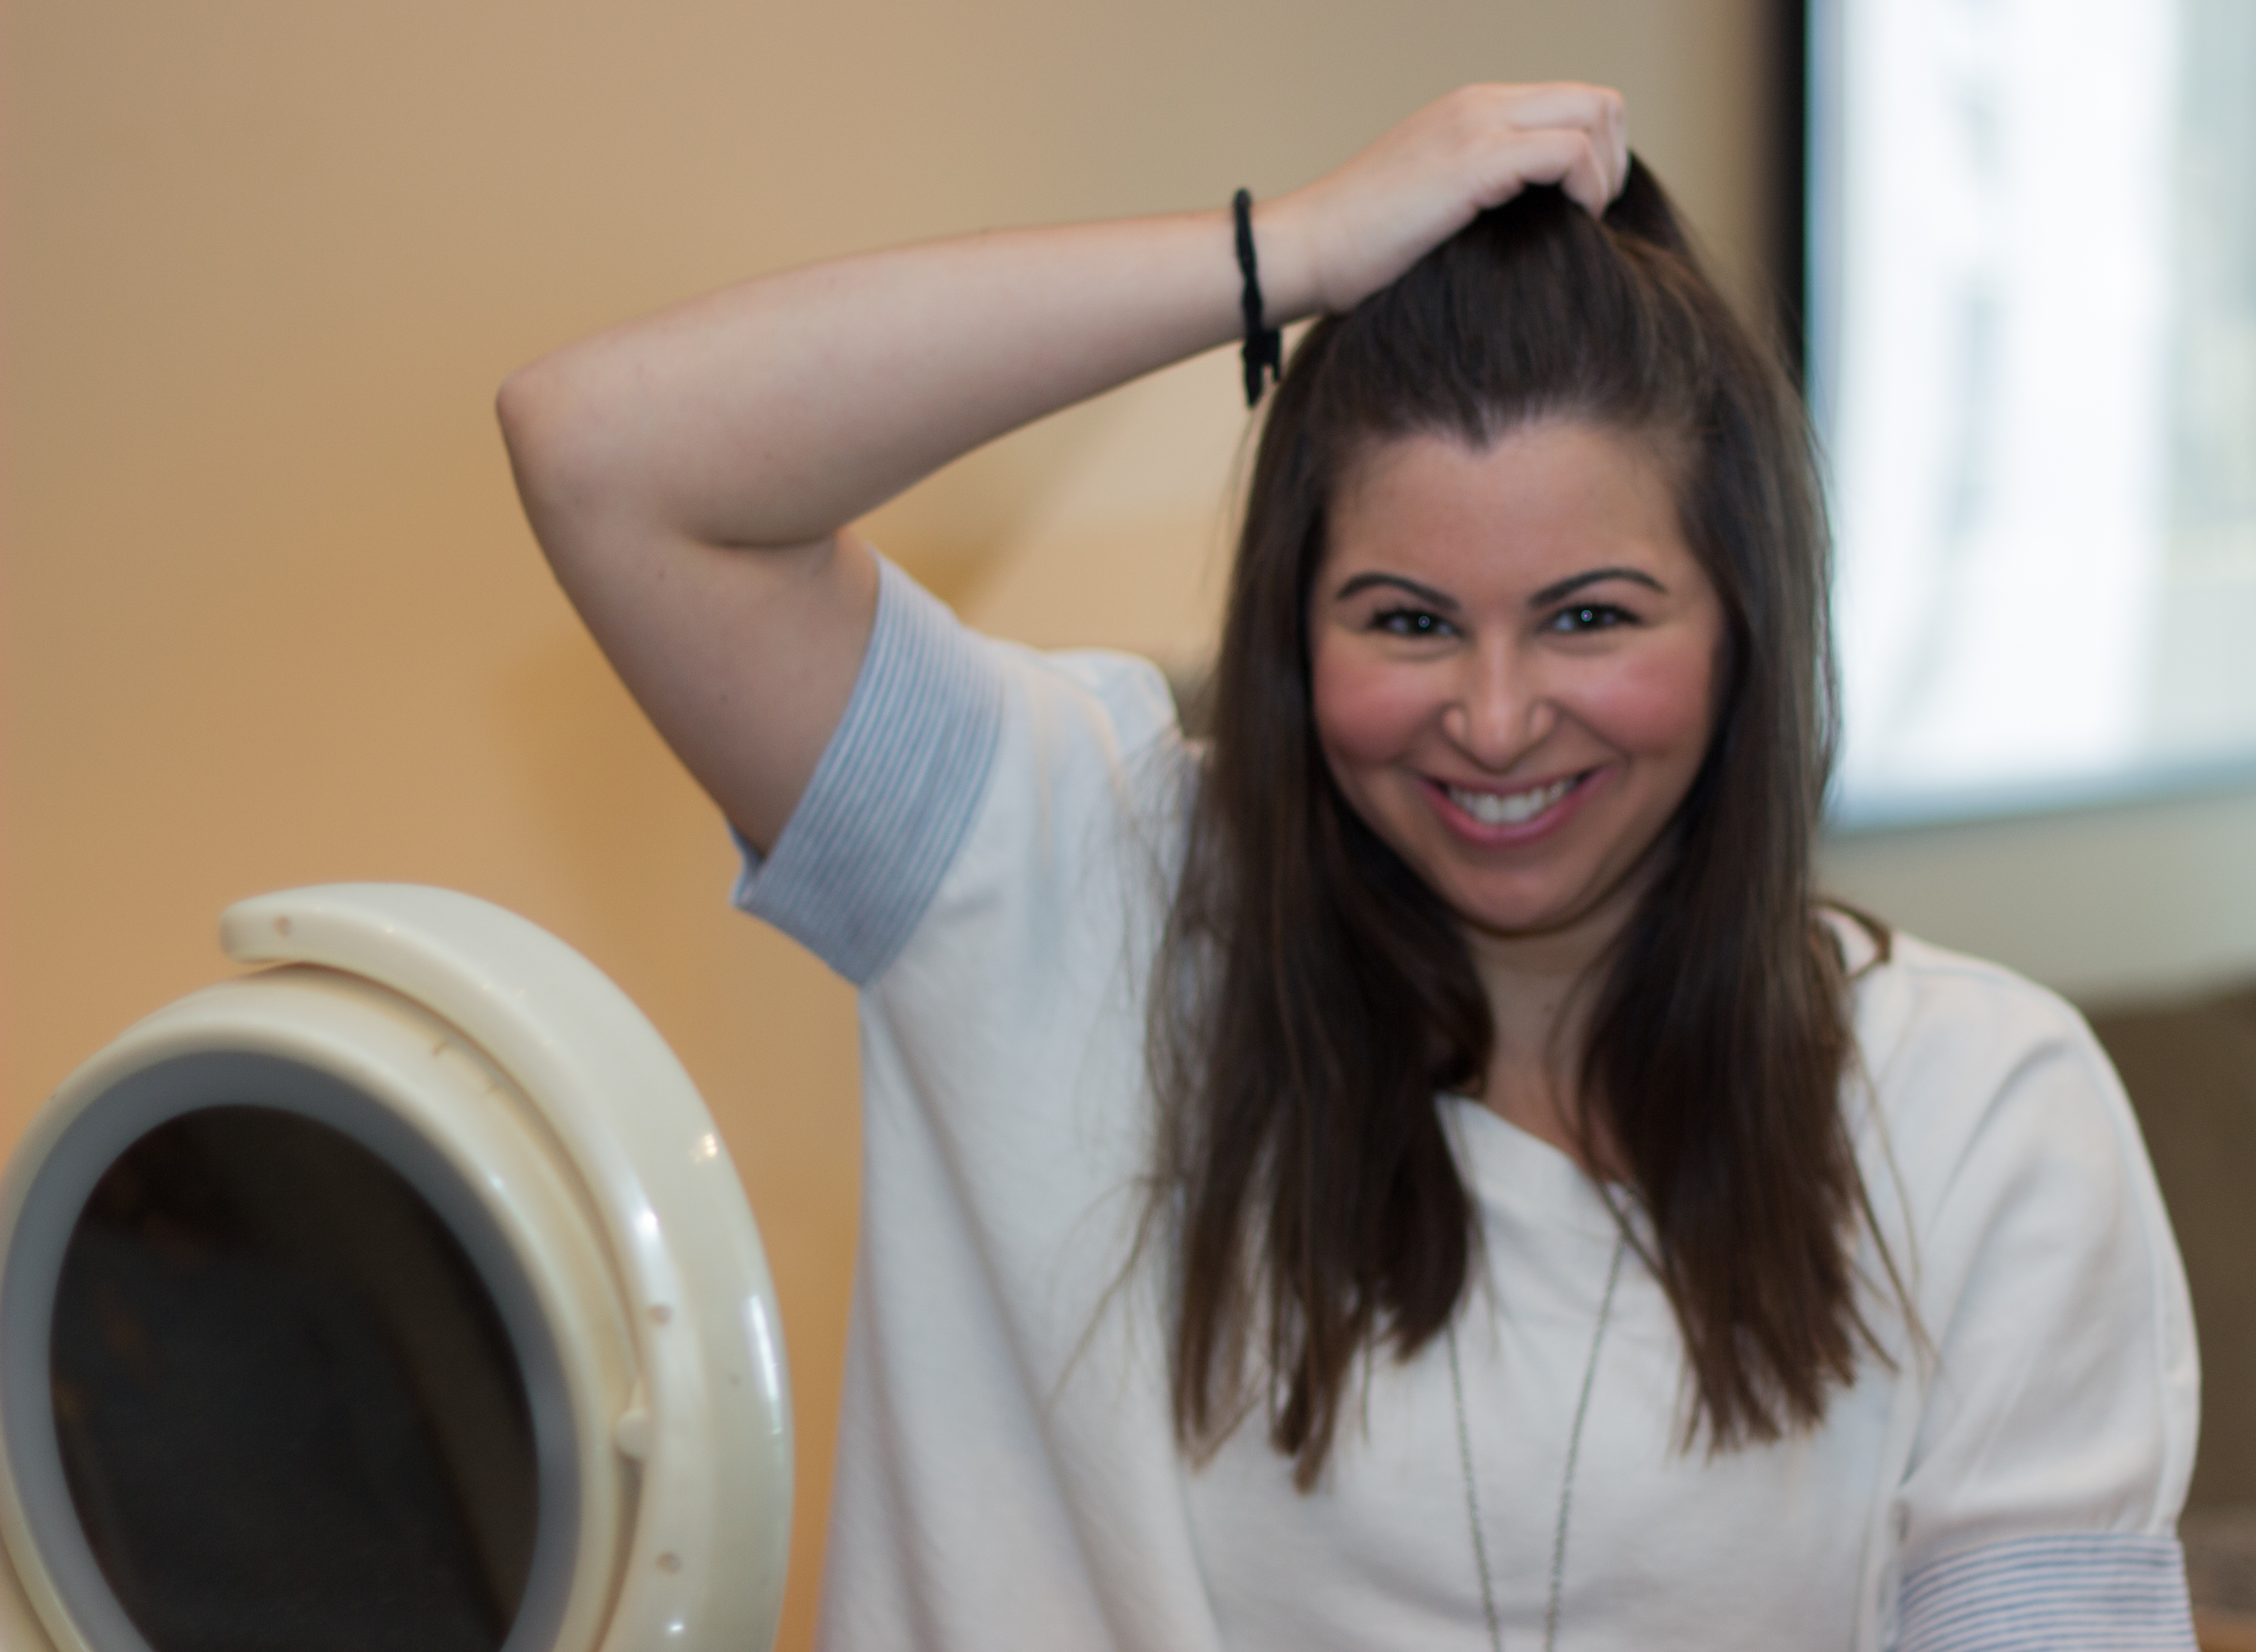
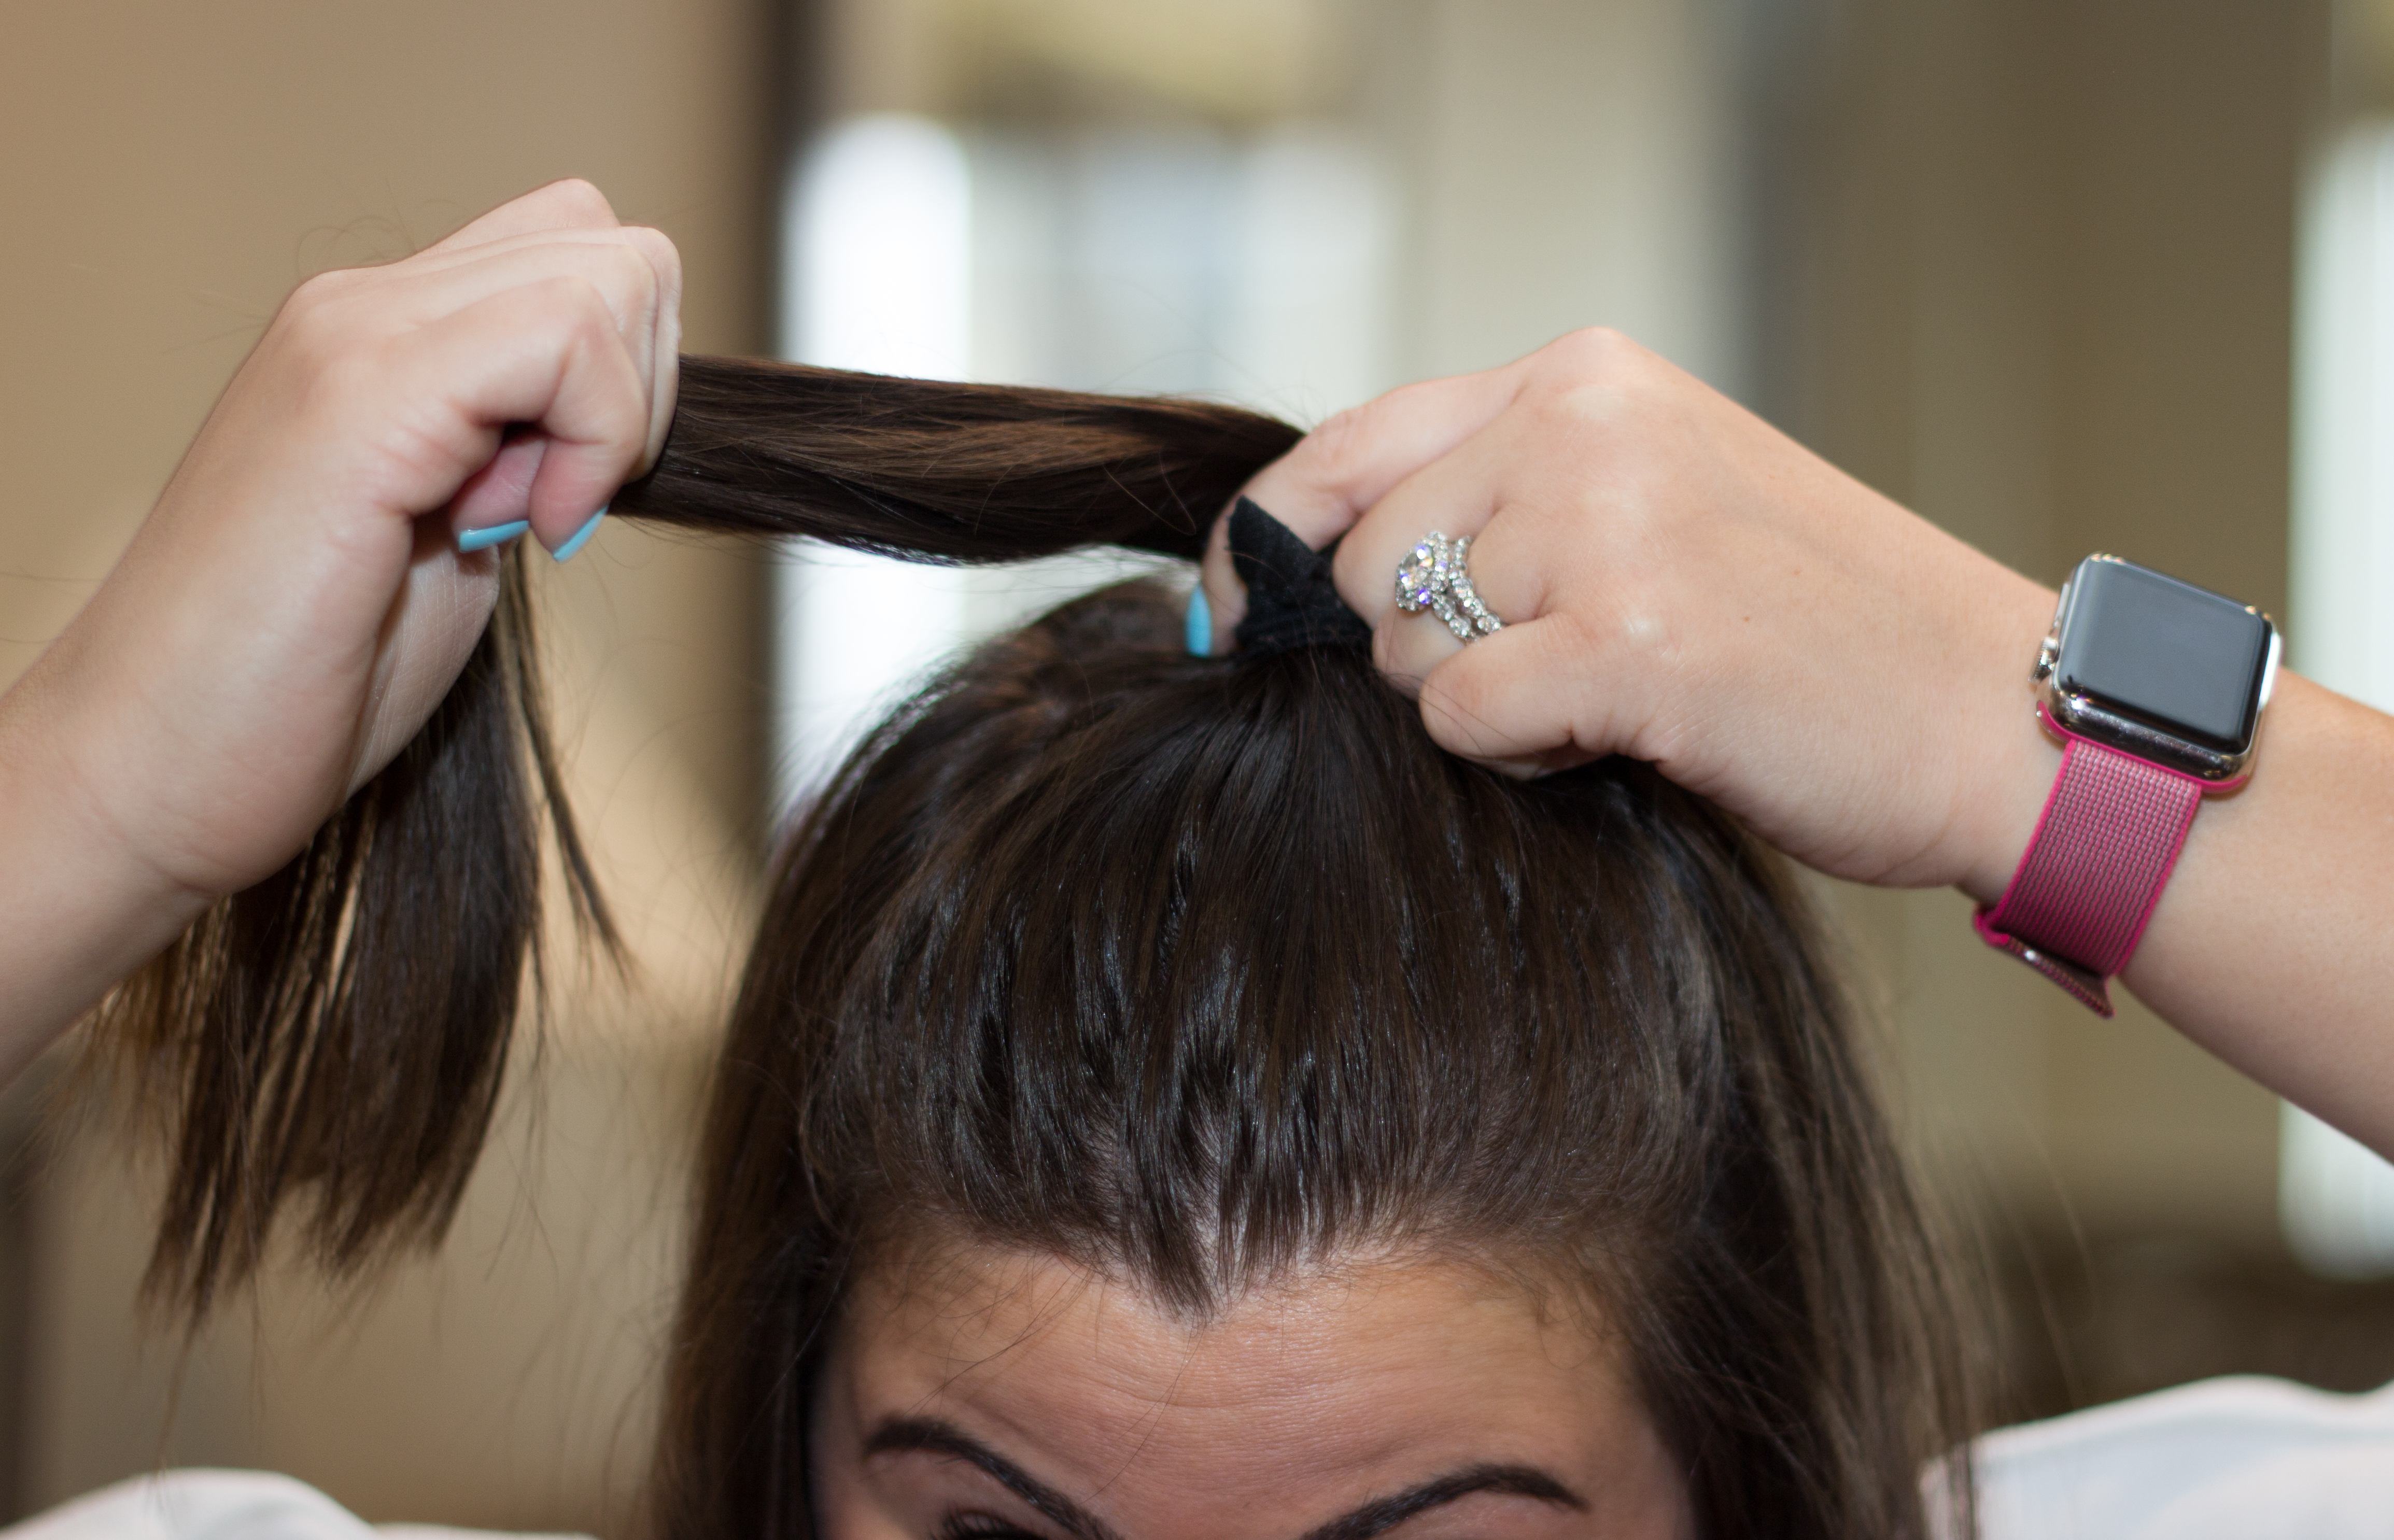
Step 3: Pull the top section of your hair back and smooth it out well! Cheesy smiles {like mine, oops!} are not required.
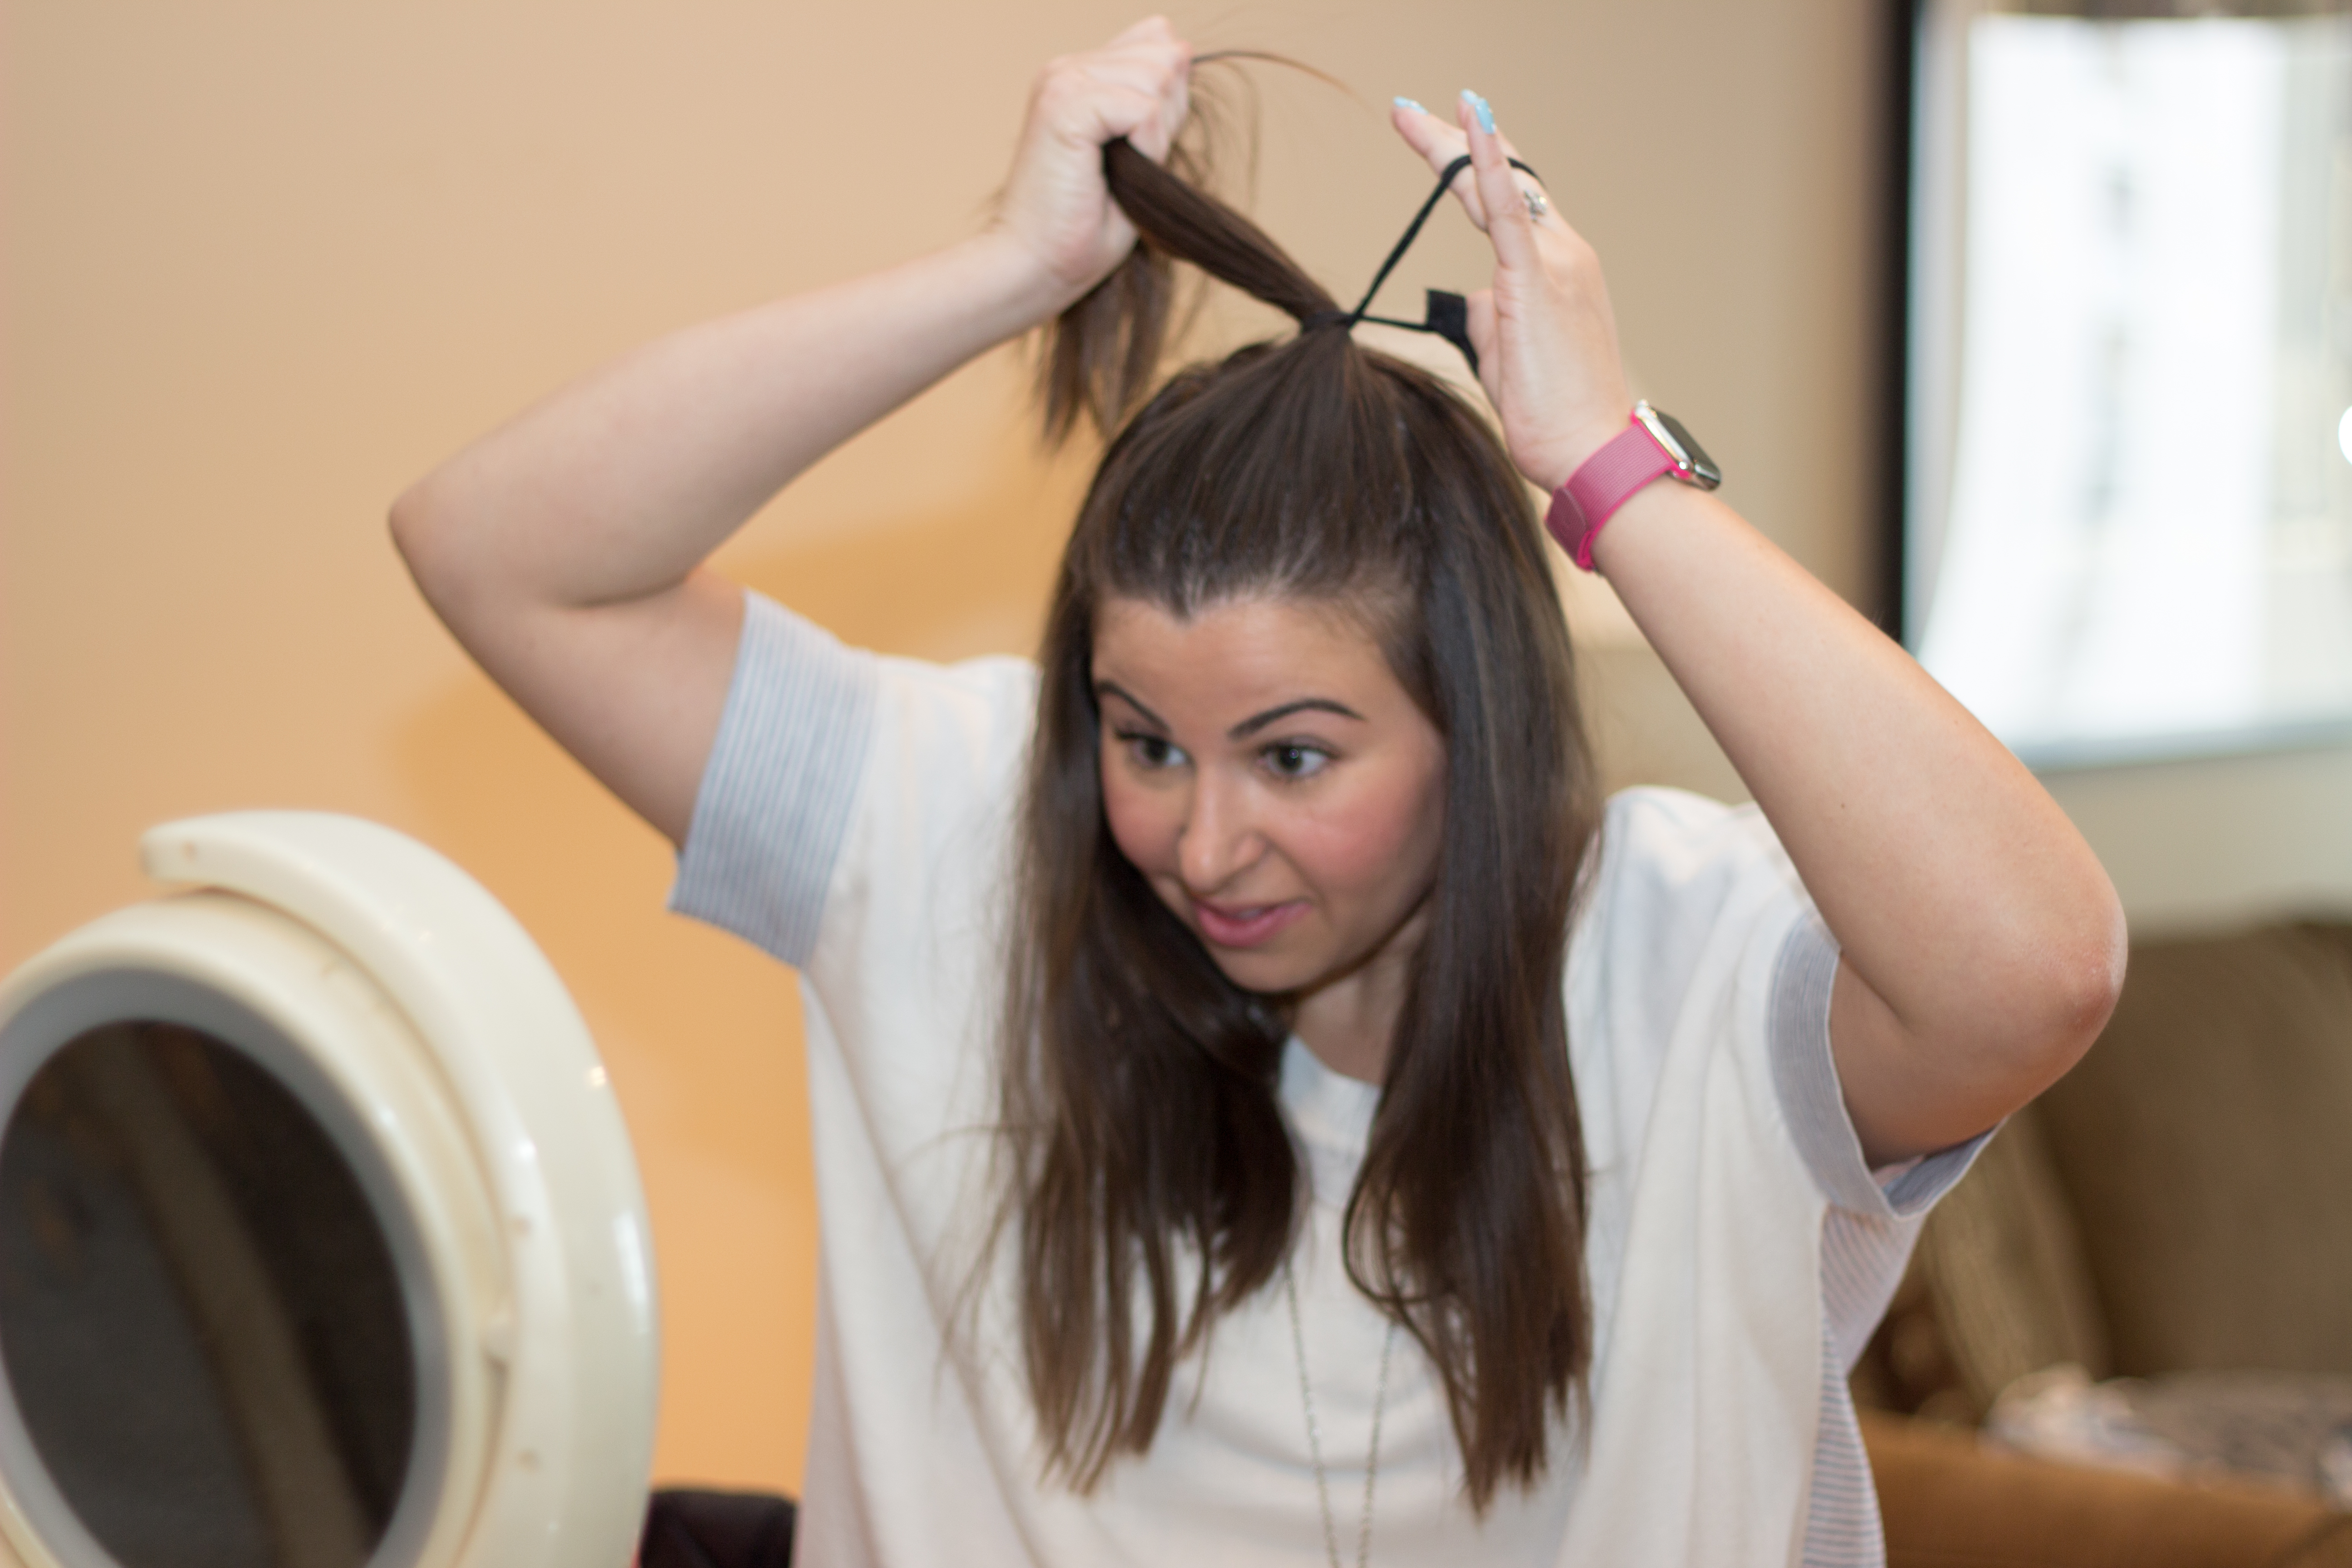
Step 4: Tie that top section of your hair into a ponytail holder! I like to use this kind since they’re snag-free =)

Step 5: Ready to make that top-knot?! Let’s do it!
Step 6: Position your hands how I have them in this photo… loop your tied hair around your pointer finger of your right hand!
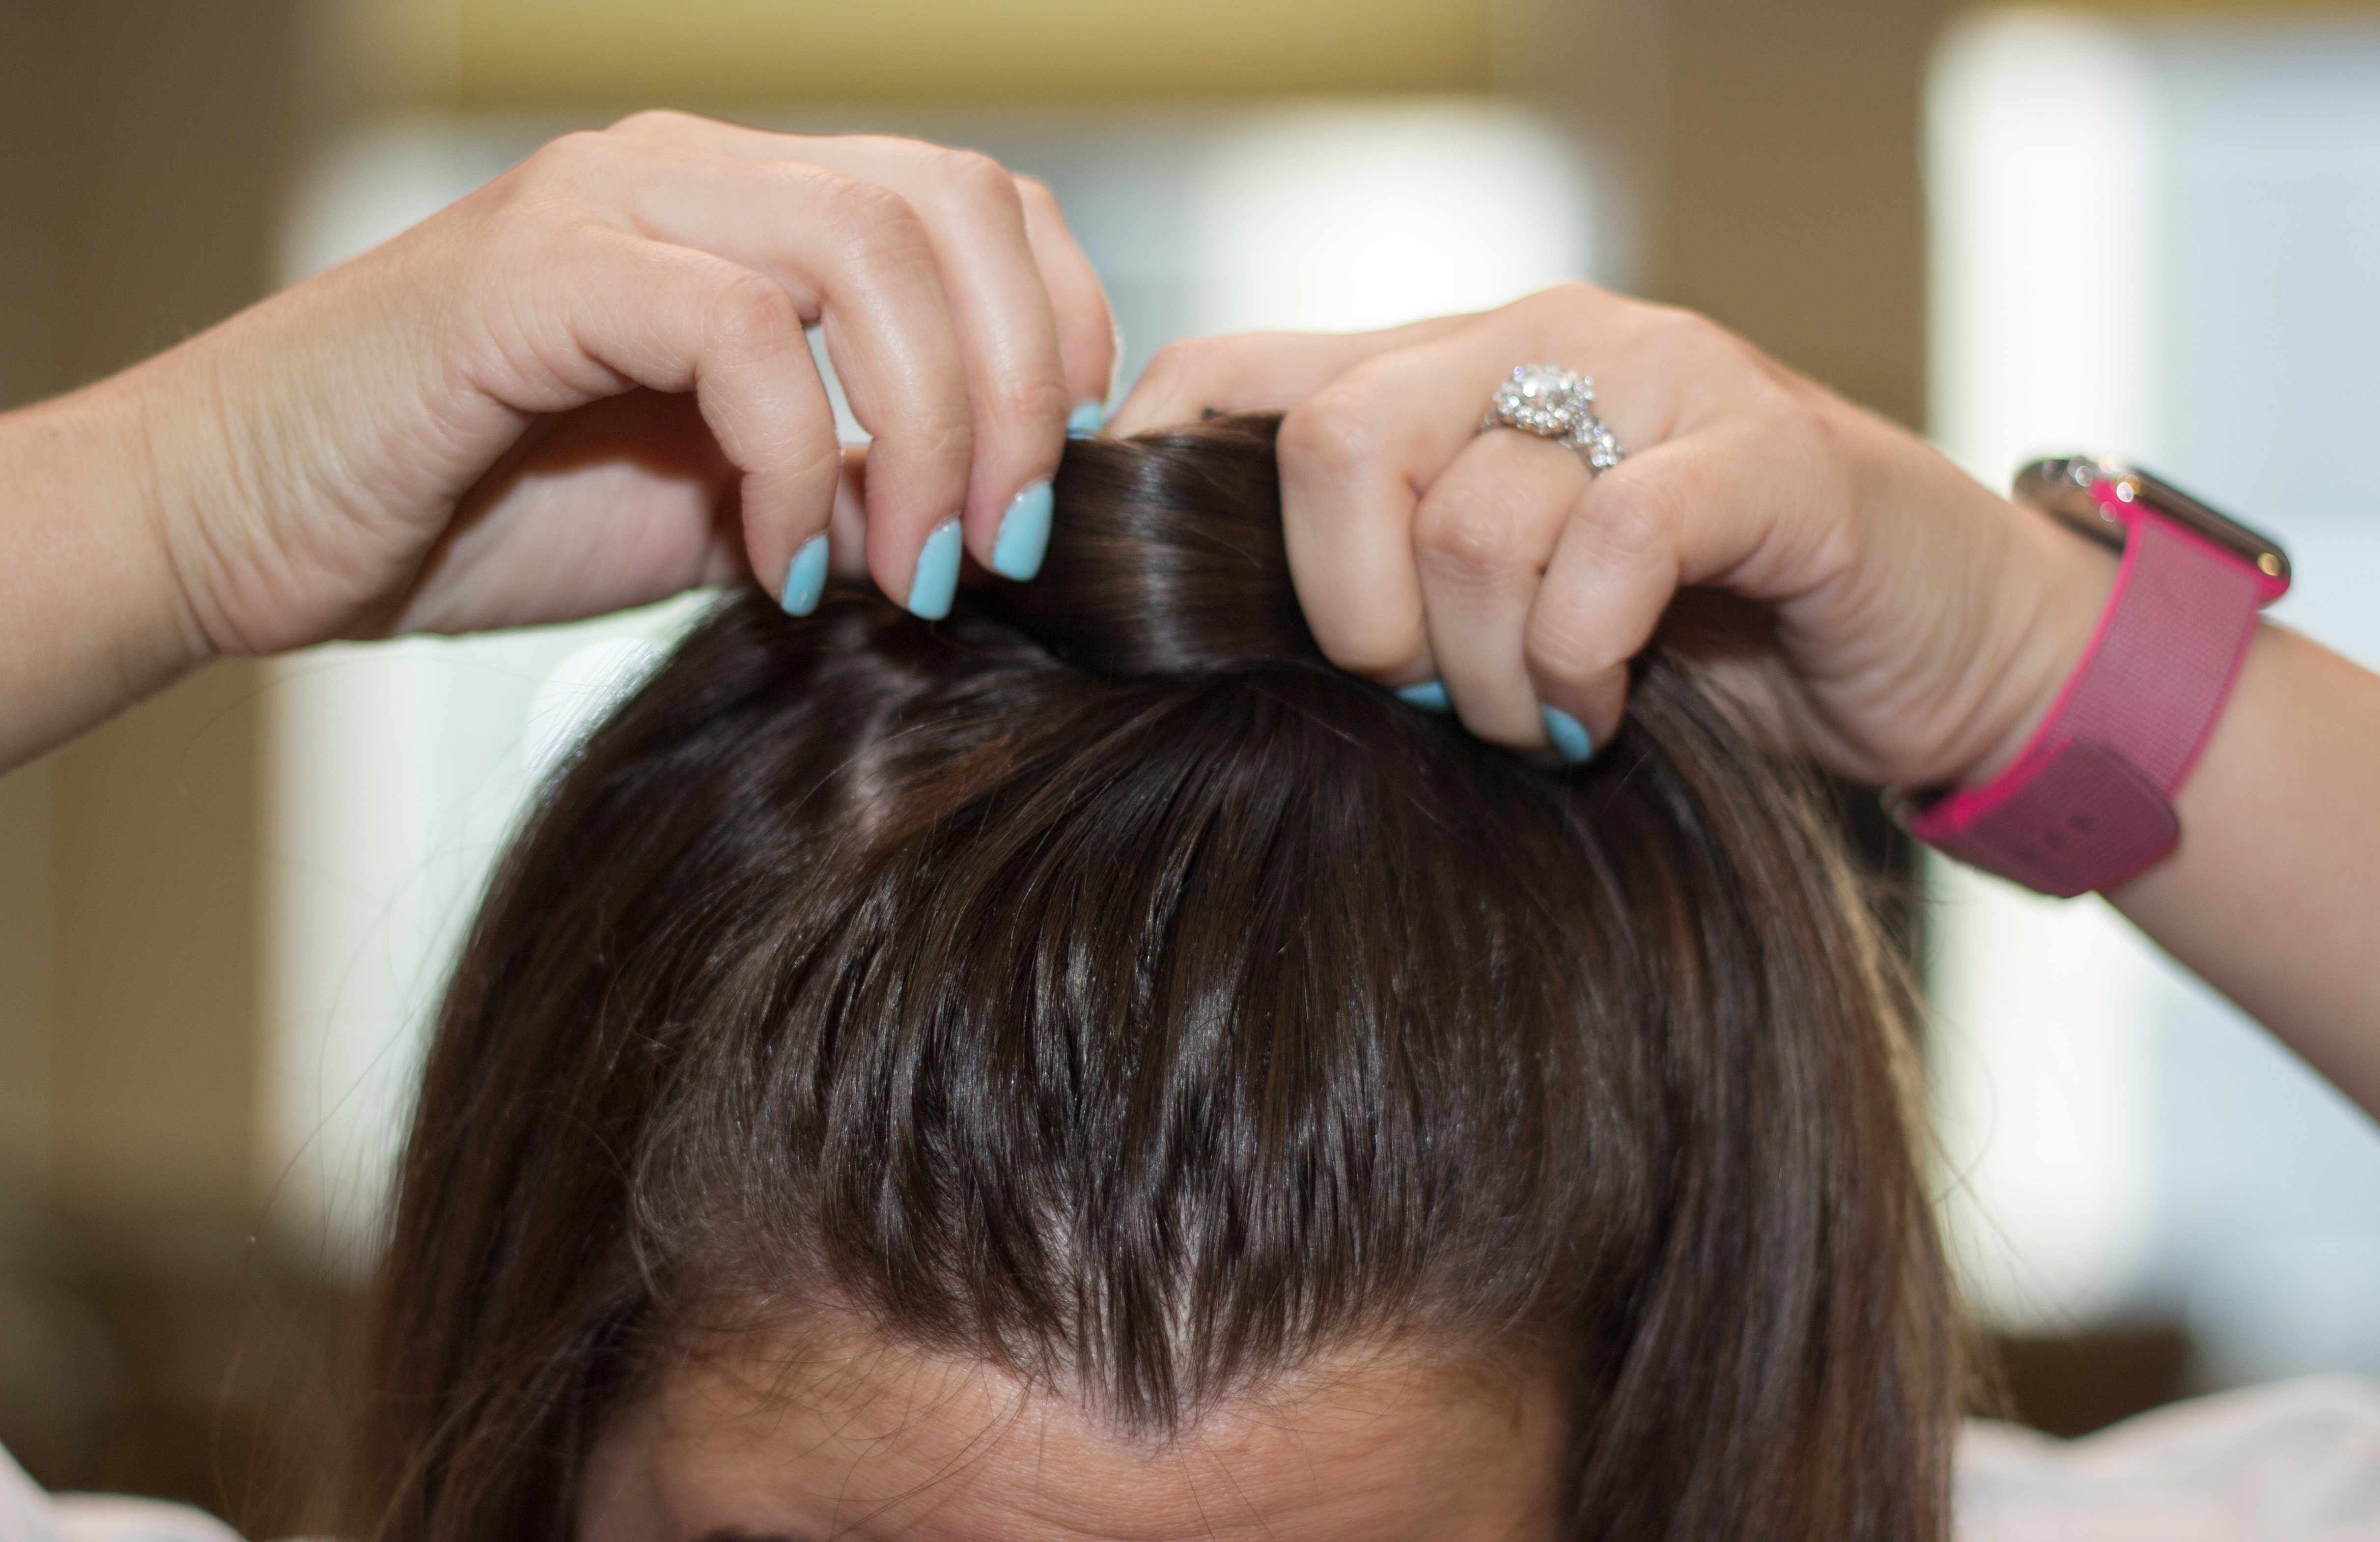
Step 7: Keep looping the hair around that pointer finger using your left hand and other fingers to help you.
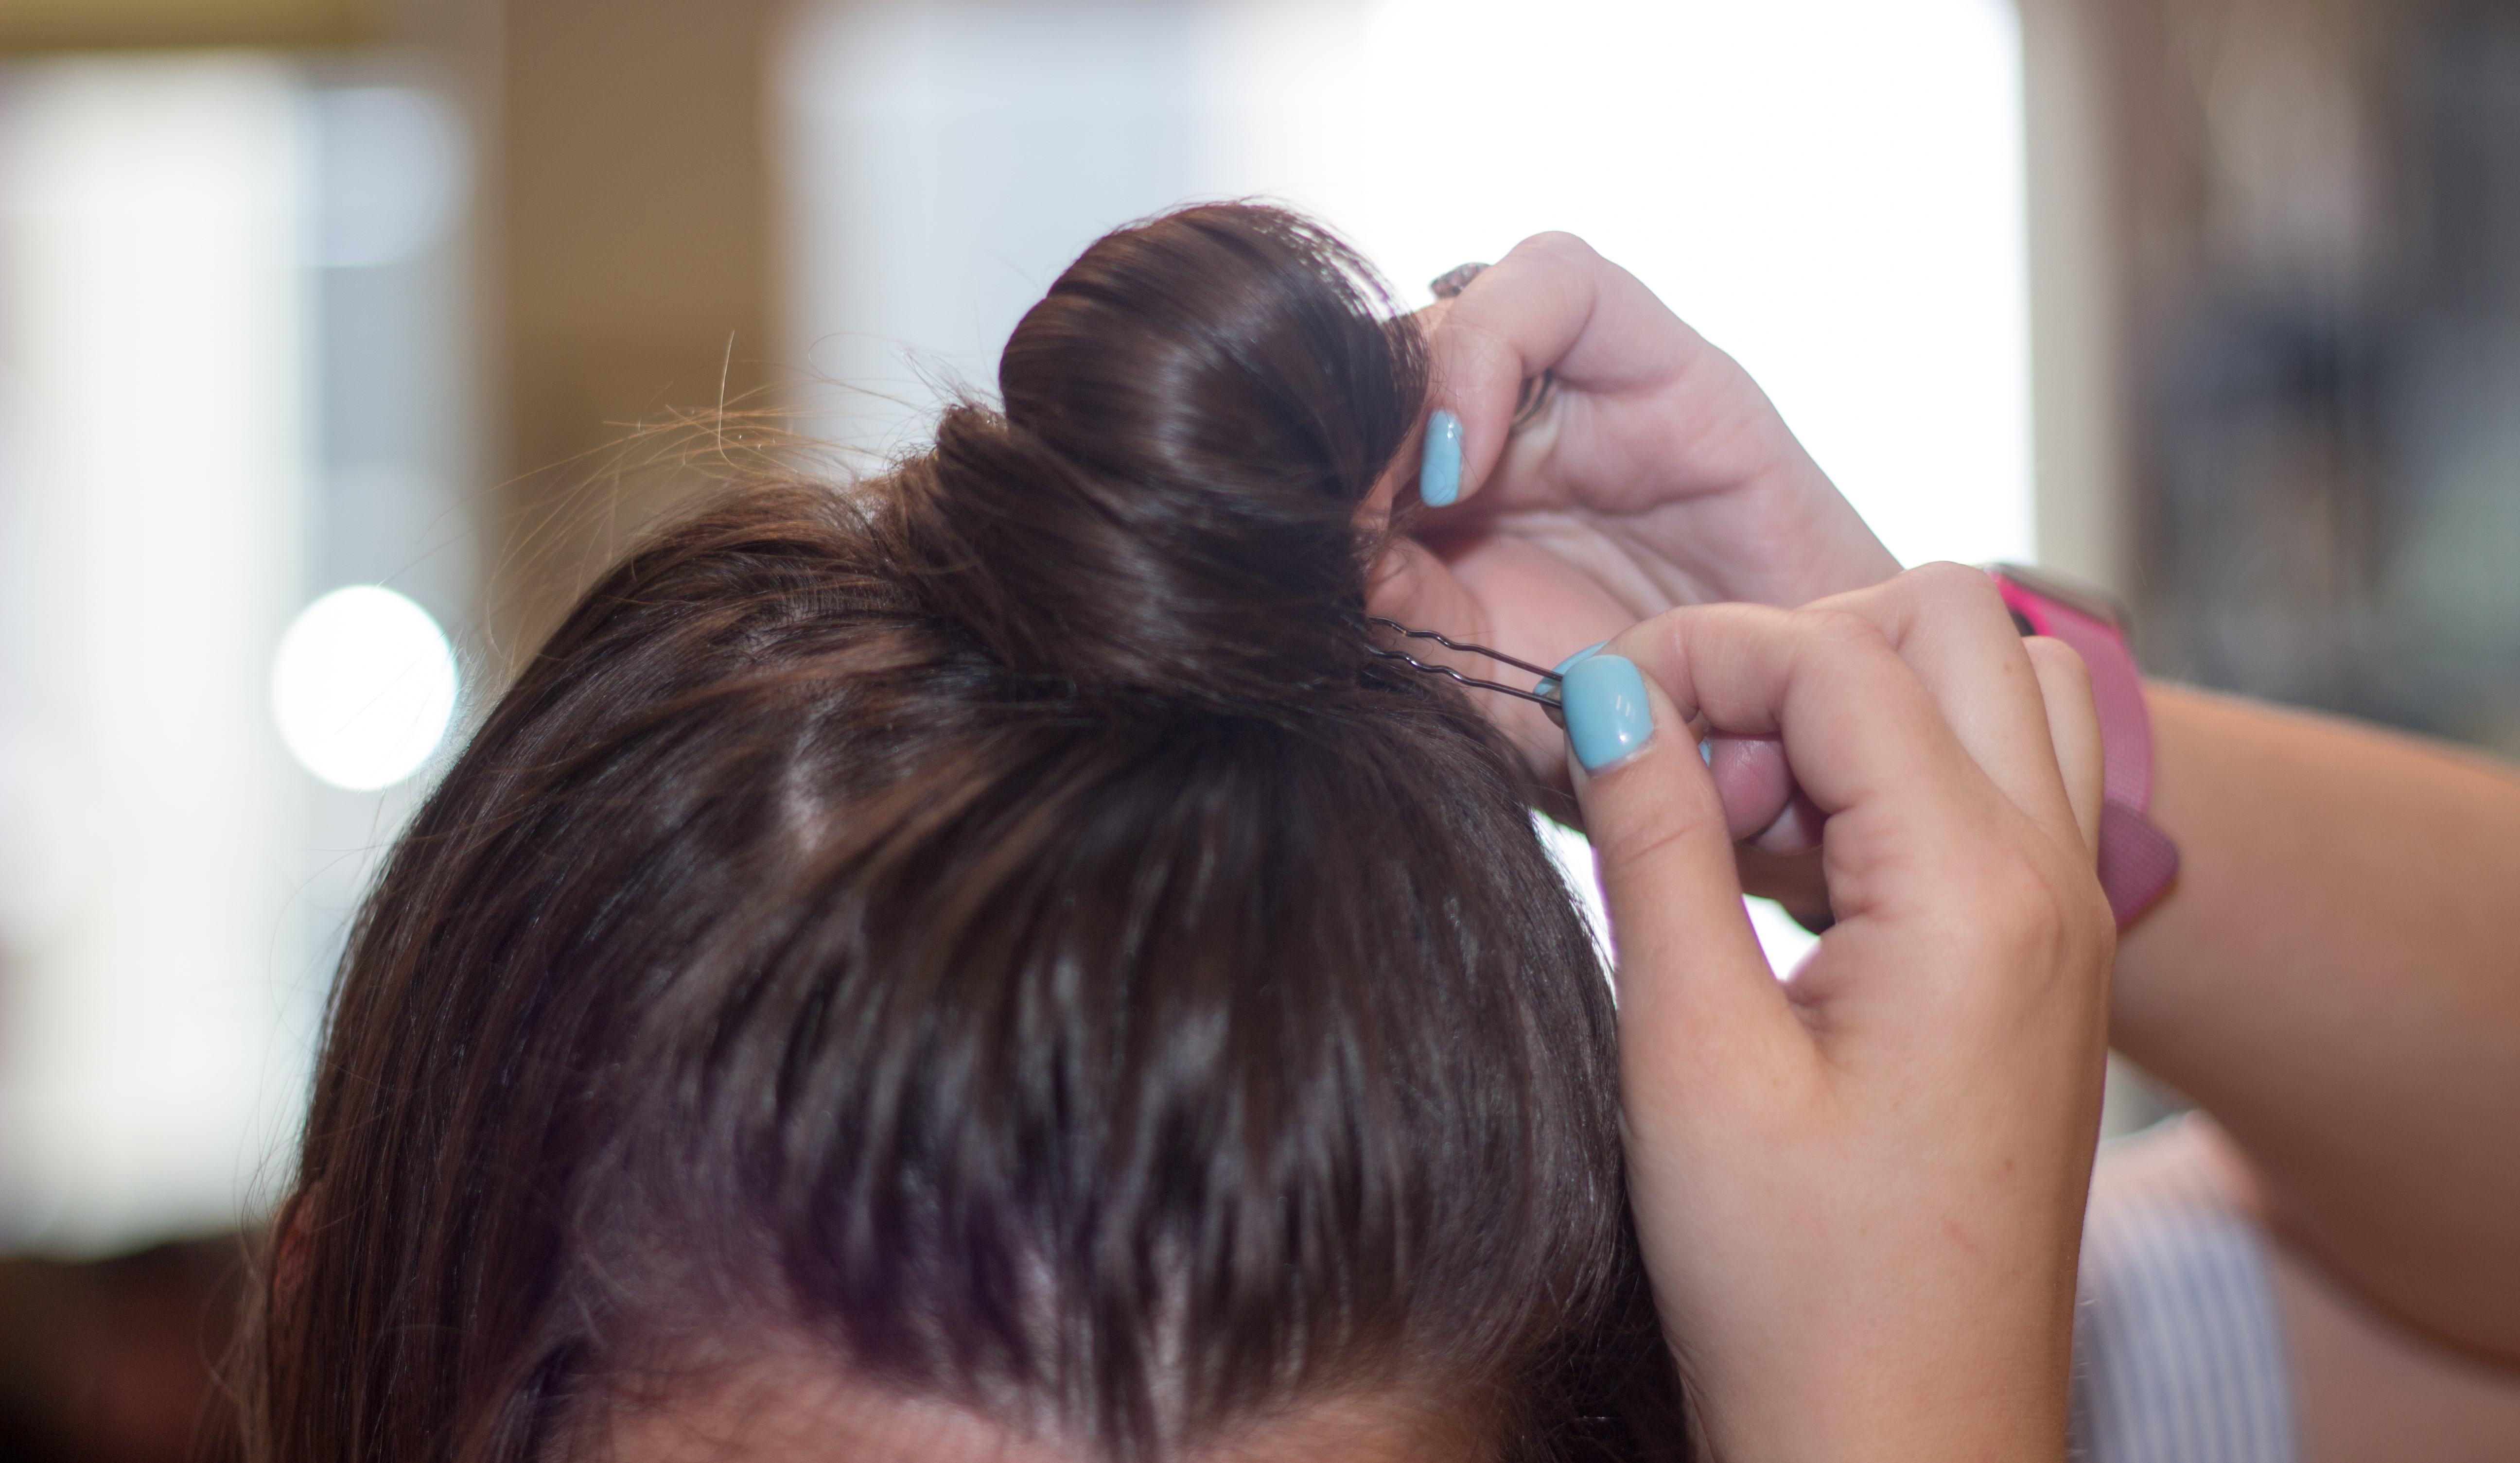
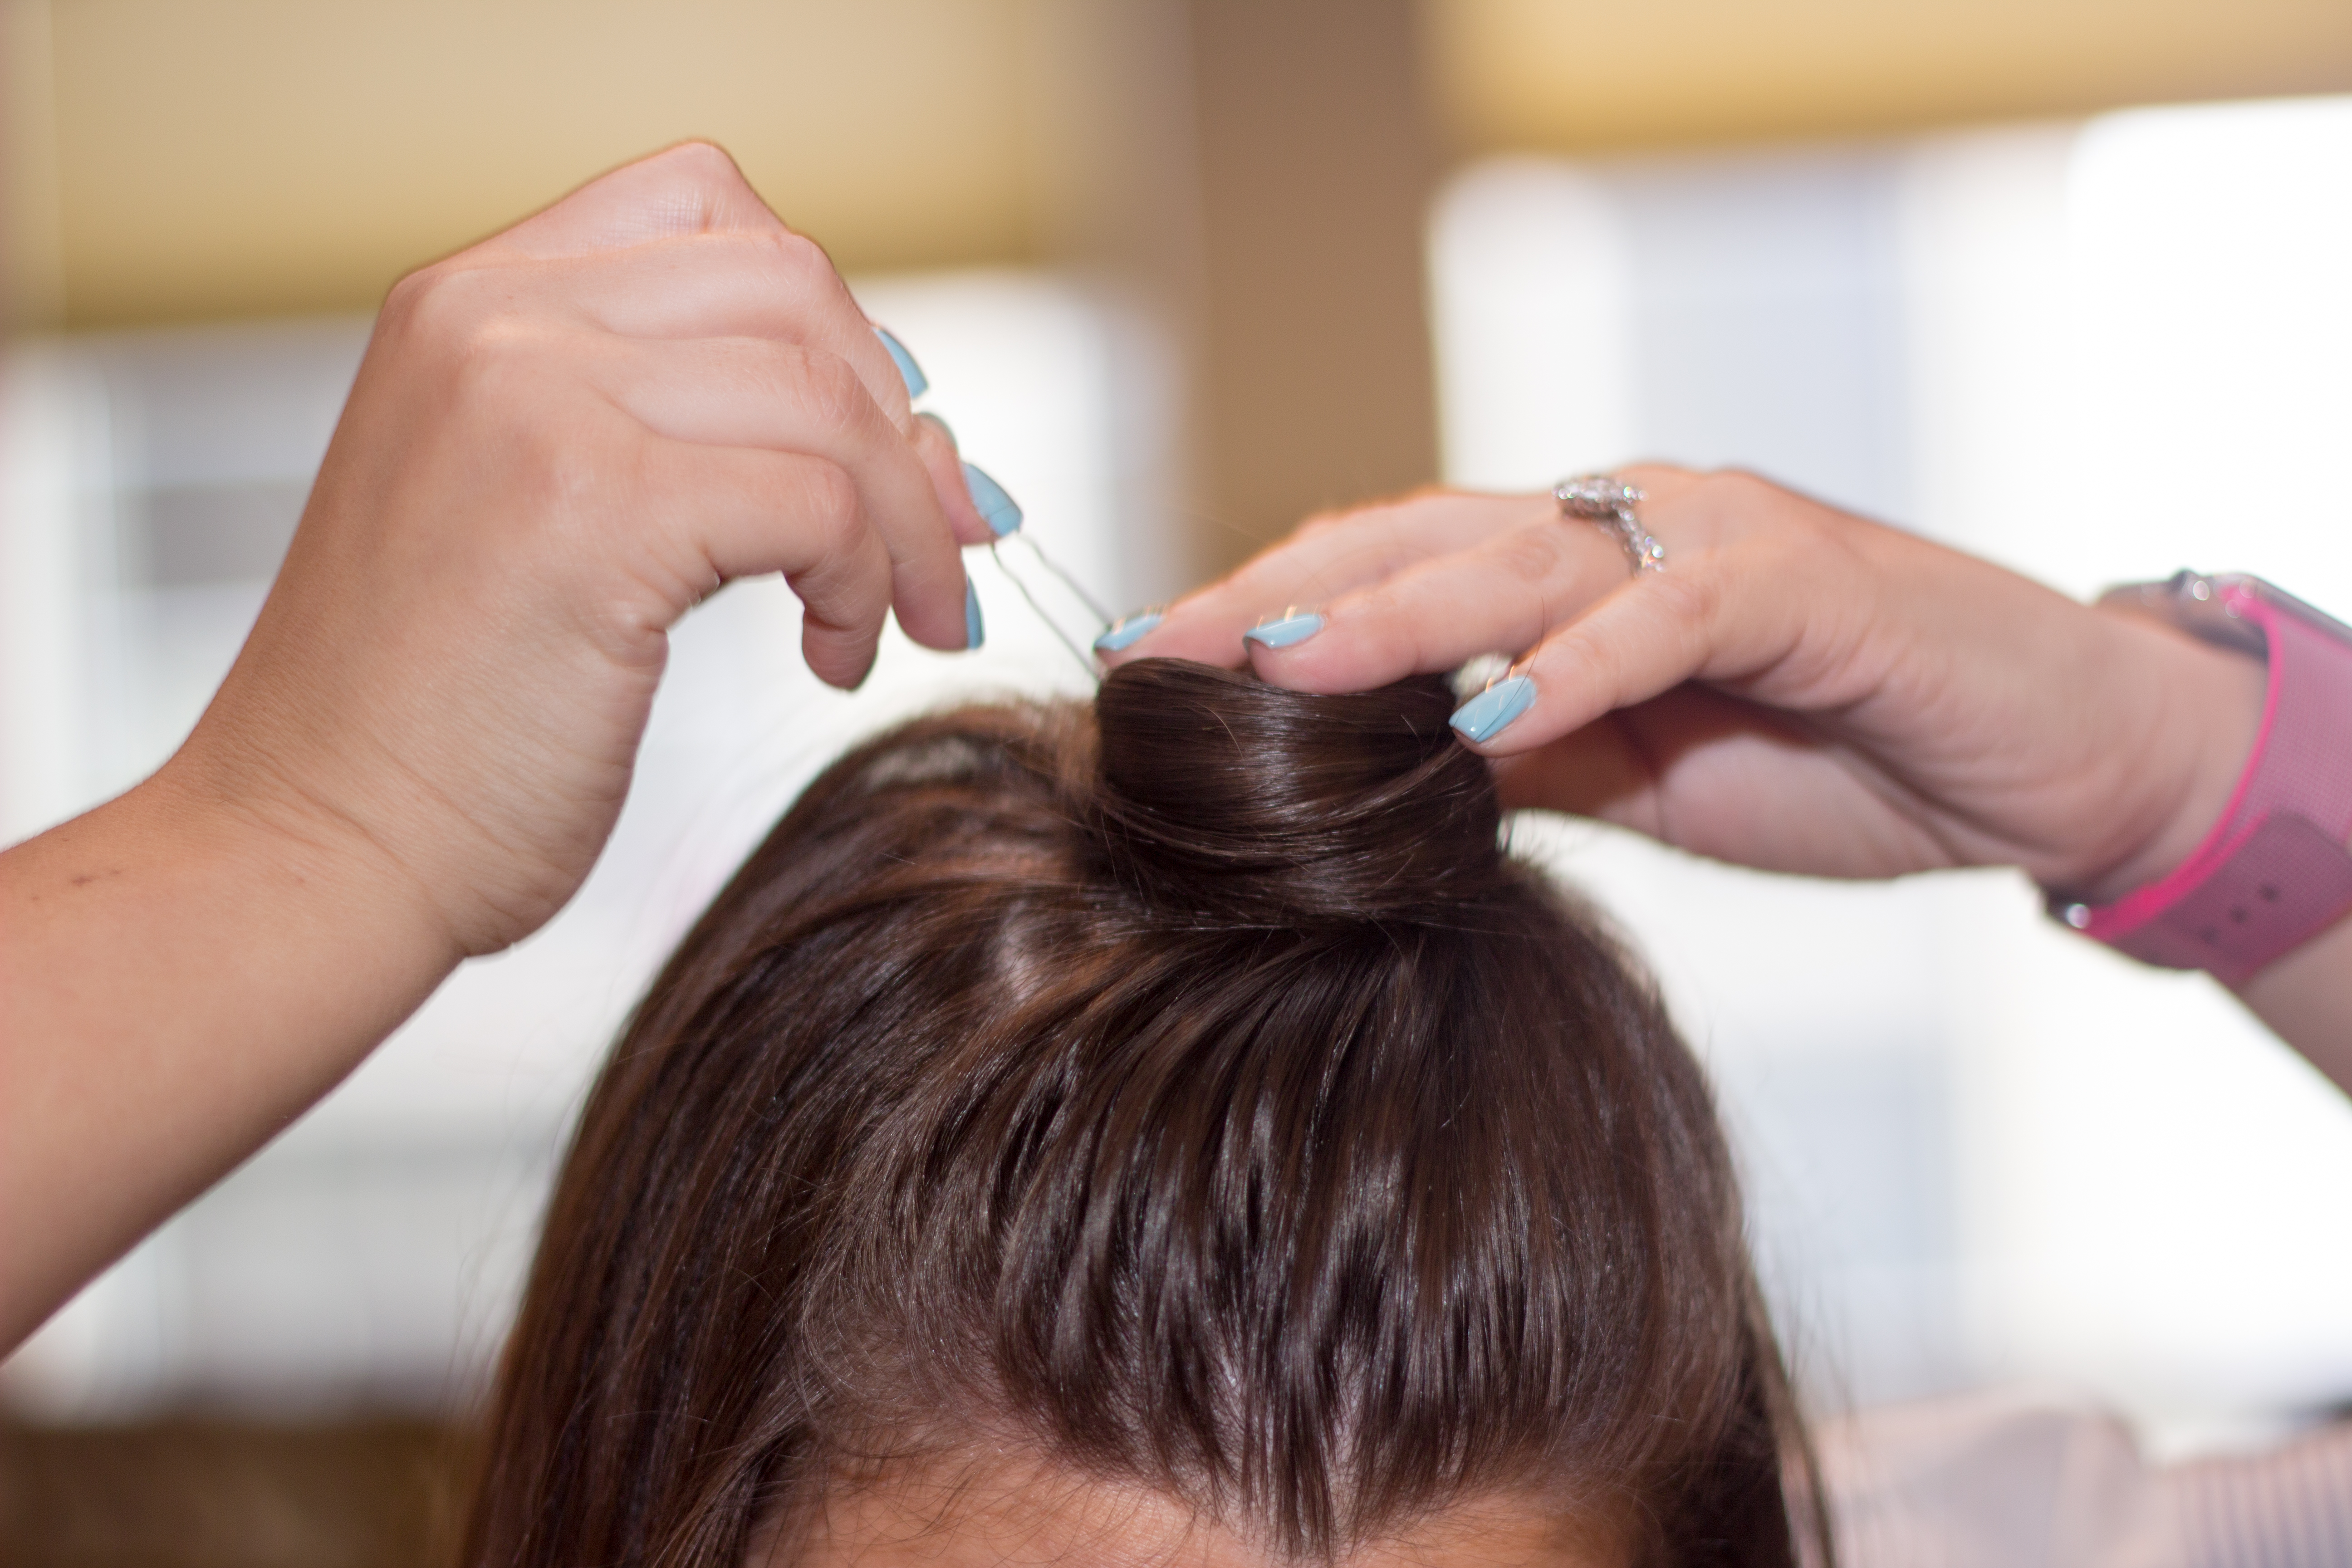
Step 8: Now it’s time to get out those pins! You’ll need a whole bunch!
Step 9: Start with one pin and push it into your bun. A TIP: push the first pin into the bun where the end of your hair around the knot stops. This will hold the top-knot together for the time being.
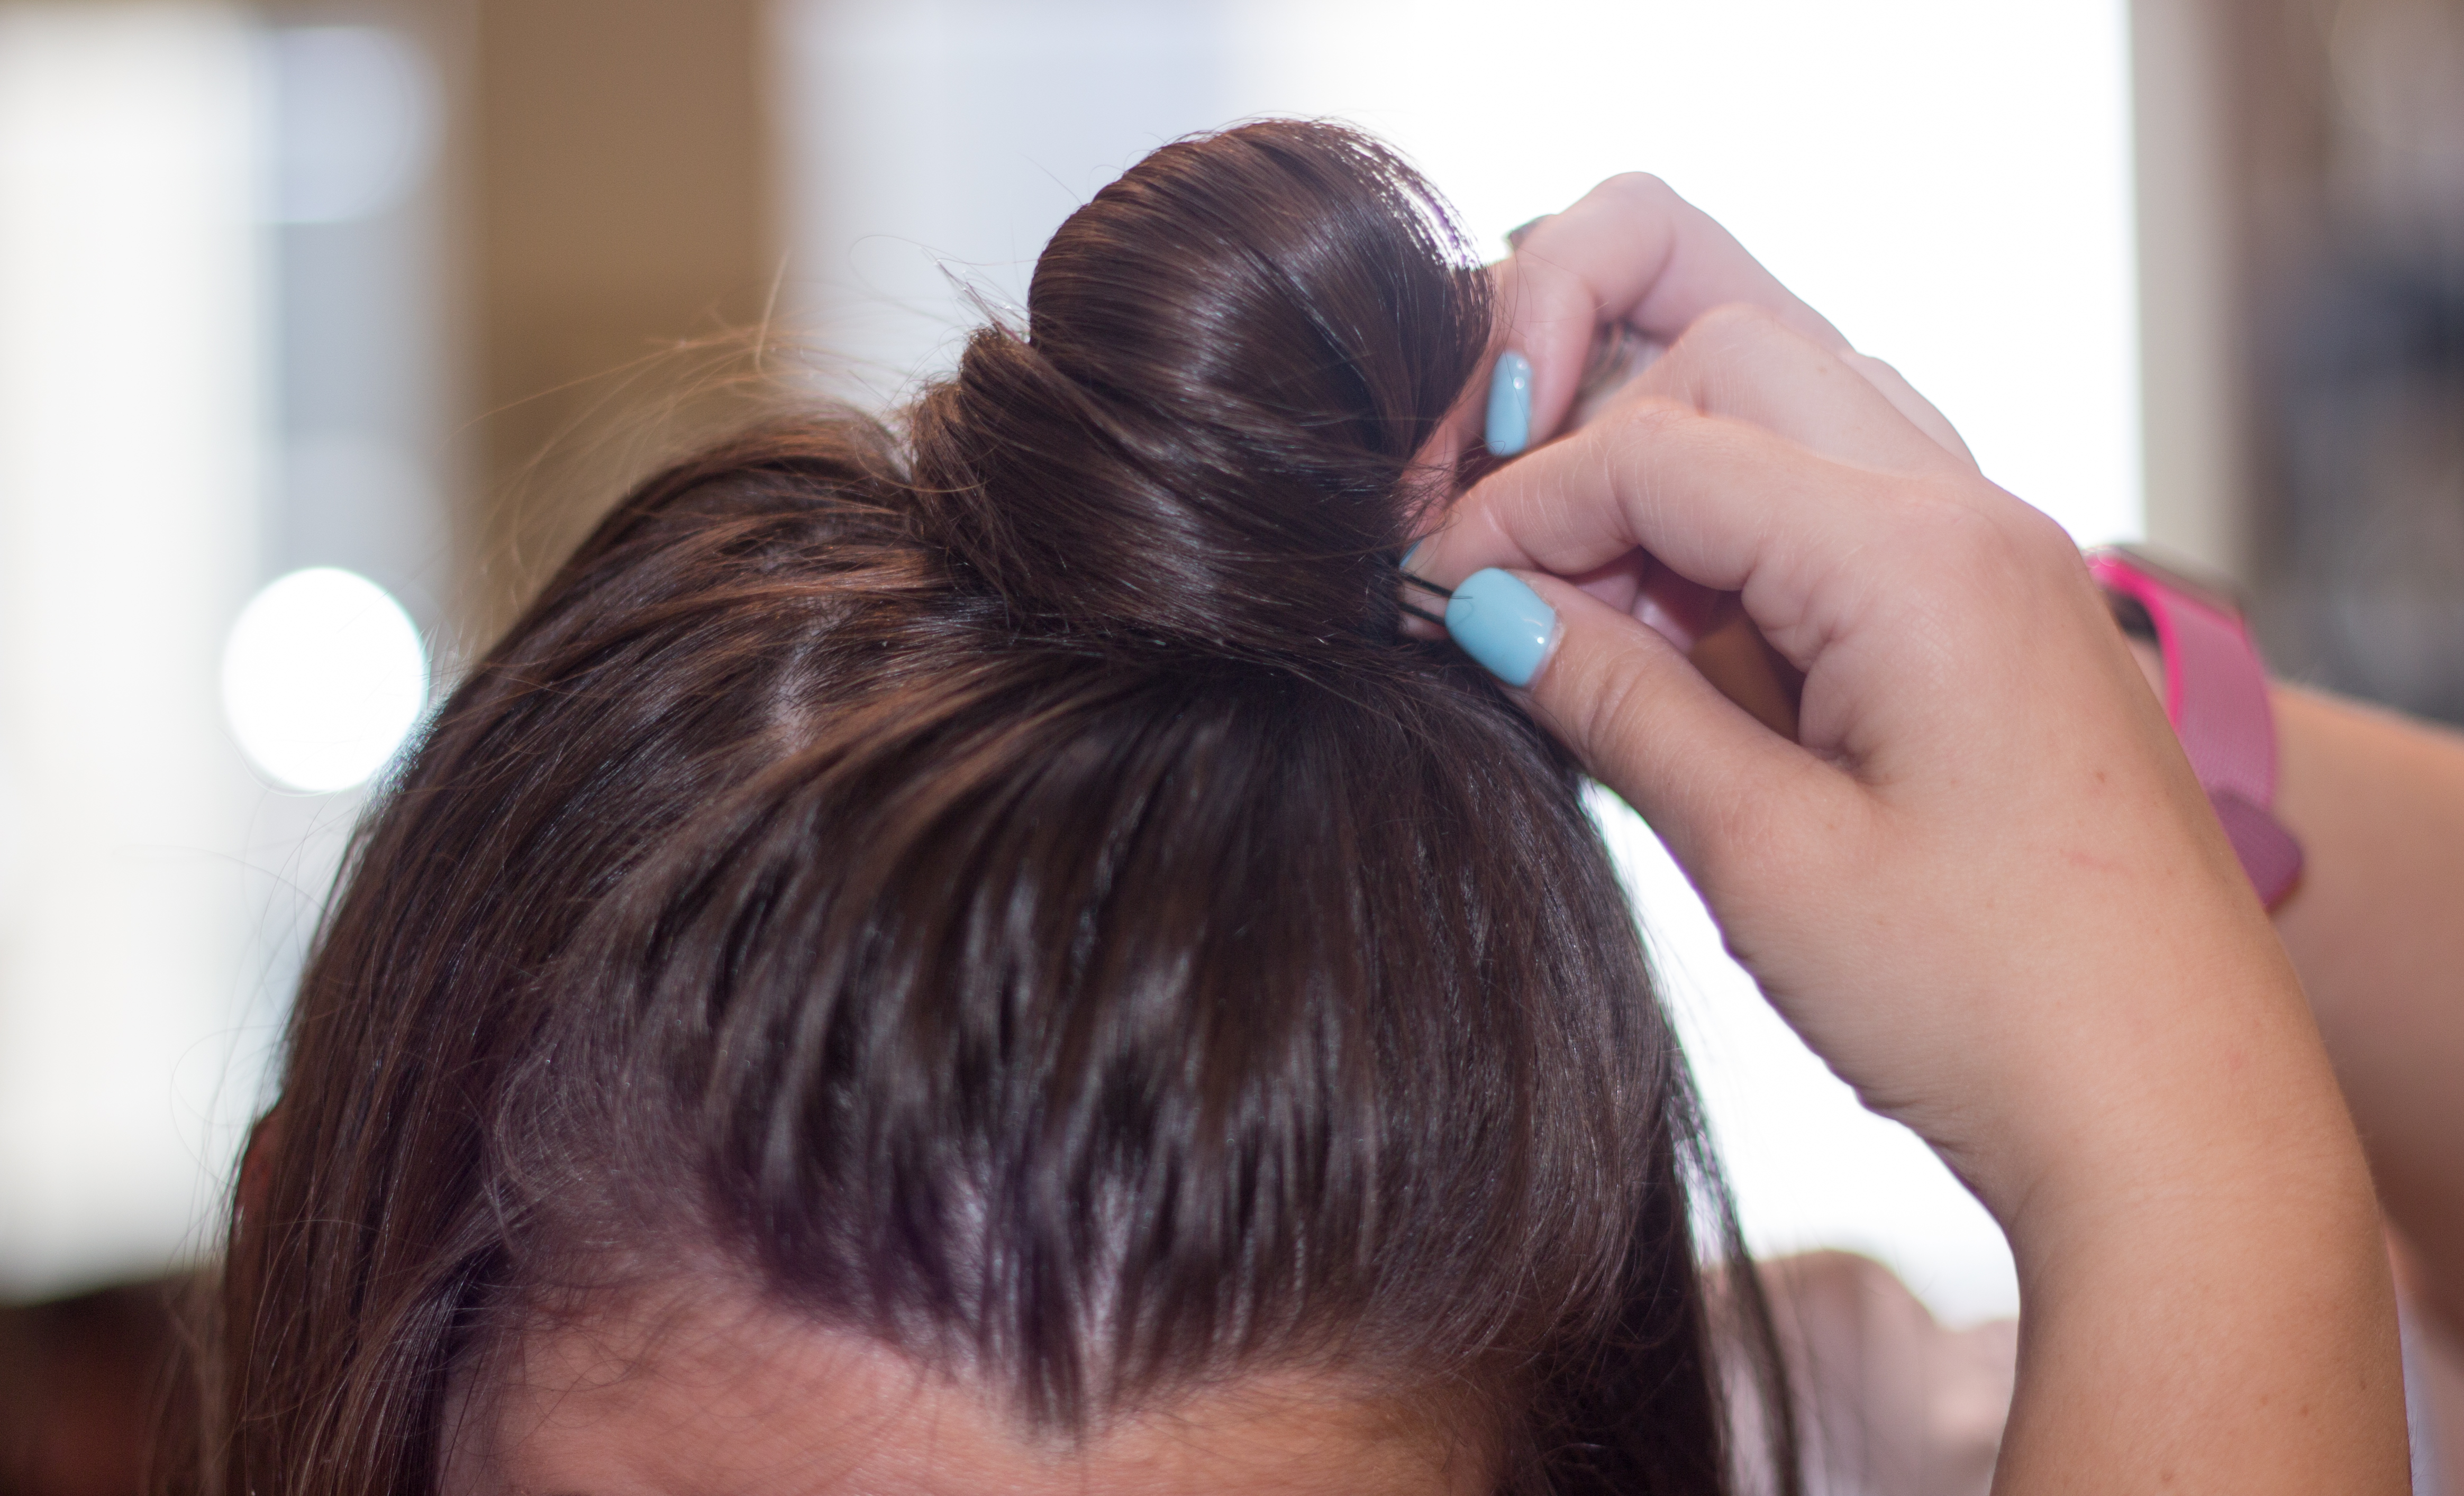
Step 10: Literally push the pins into the bun all around it, tucking in the stray strands of hair from the top-knot.
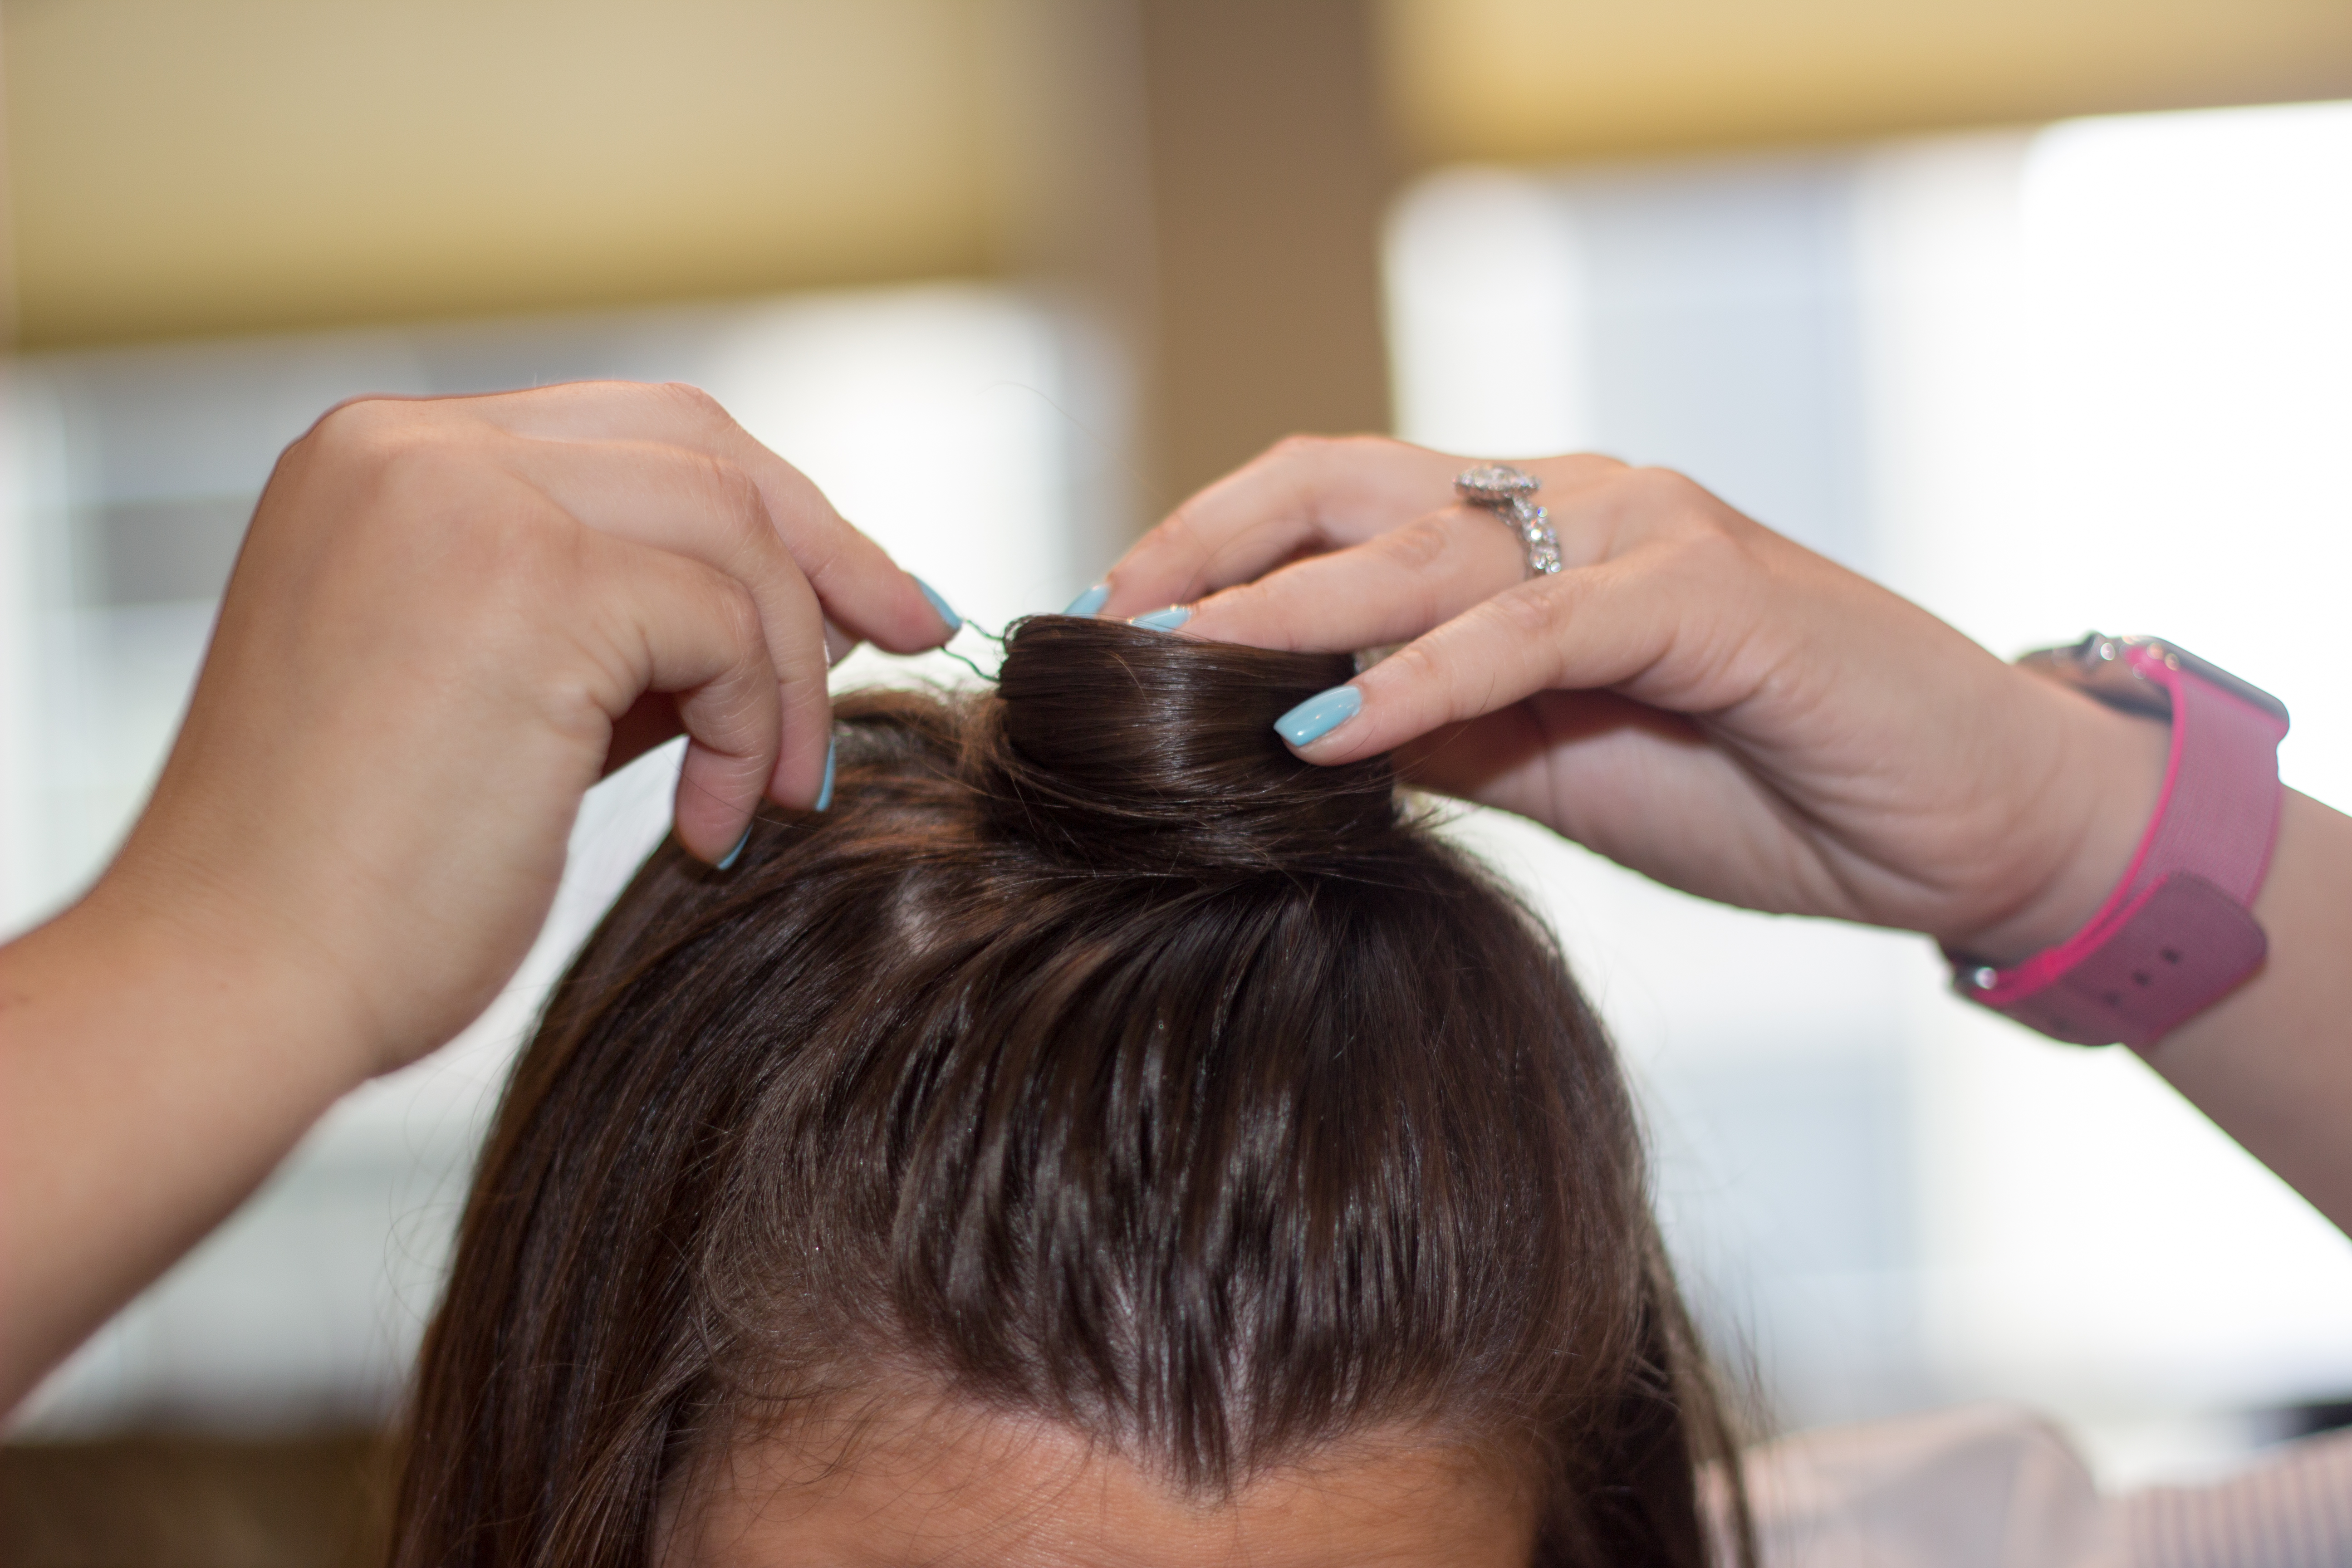
Step 11: Hold down the knot with one hand from above and continue to push the pins into the top-knot until it feels secure!

TA-DA!!! Mission top-knot complete! Isn’t it so cute?!?!
For reference, I typically use 5-6 push pins for a half-up, half-down top knot like this one.
[shop my apple watch with woven pink band here and my nail polish here]
Something to note, in addition to the half-up half-down look, I do this all the time with my whole head of hair in a ponytail first, and then follow the same steps to make a bigger top-knot with alllll my hair. In this case, I typically use anywhere from 8-12 push pins for my bun. It’s just as simple and just as cute!
I really hope you found this tutorial helpful!!!!
PS obviously I took a million pics here and it may seem a little more complicated because of that but rest assured, the whole process takes about 5 seconds. Really, 5 seconds. If that. Promise!! It’s SO easy! You can do it!
Andddd I would be remiss if I didn’t mention that this post would never have come to life without my talented photographer friend Blair of Blair Stern Photography! She took each of these amazing pics and I couldn’t be more thankful!
[bctt tweet=”Check out this post for a quick and easy TOP-KNOT HAIR #TUTORIAL! Get in on this trend now!! ” username=”iadorewhatilove”]
Will you tackle this hair trend anytime soon?!
Let me know in the comments section of this post below!
PS you should probably PIN THIS post for later!! Because obviously!


The half up top knot is my favourite look right now!
Yes!! Mine too!! So cute!!
This was super helpful! I am the worst at styling my hair, I feel like I can never get it right, but these steps make it so I think I might actually have success! Can’t wait to try it out. The end result is gorgeous :)
http://www.sprinklesandsaturdays.com
Oh you have no idea how happy this makes me, Julia!! You will get it right by following these steps! Promise!! You must let me know what happens!! Xox
I love wearing my hair like this, so cute and easy! You look adorable, love it!
xo, Lily
Beauty With Lily
Right?! And thanks girl! So sweet!! Xox
I was JUST sharing with another blogger that I really want to try this trend, but have no idea how to do it. So, YAY that I now have directions!! Can’t wait to try this, I think it’s just the cutest for summer!! XO
Shauna
http://www.lipglossandlace.net
No way! So funny! Well now you know and I am so glad that I could be the one to show ya how the top-knot is done! You’ll be a pro in no time! Xox
I love doing this to my hair! So fun, simple and people think you actually tried, when it really only took a few seconds. So I was reading through this, thinking…I wonder if she used a timer on a camera…how did she get these great pictures, LOL. And then you answered it at the end, good work friend. I’ve never thought to use those U shaped pins, I have them, will try those out next time!
I literally couldn’t have said it better myself, Sarah! And hahaha I’m laughing out loud about the photos! My friend Blair is the best!! And yes, you must try the push pins! They are great!! Xox
Such a great tutorial, Dana! Love the fact that we are both writing about hair trend! Top knots are so fun — I wear them all the time when I’m home with my boy! Loved the tutorial and you really are the cutest!
Happy Monday, love!
xoxo, Vanessa
http://www.WhatWouldVWear.com
Awww thanks lady! You really are the sweetest!! Happy Monday to you Vanessa!! Hope you have the best start to your week!! Xox
You look SO beautiful, as always, my friend! I love the tutorial, your hair came out lovely! I love top knots, full or half down. I love the full top knot when I’m going for more of a cute, girly look with my outfits and want my hair out of my way (or when too lazy) and the half one, when I’m going for more of an edgier vibe! Thanks so much for sharing, beautiful, and I hope you’re having the best start to your week so far! PS: I love your nail color!
XO,
Jalisa
http://www.thestylecontour.com
Thank you thank you thank you!! You sure do know how to make a girl feel good! So glad you liked the tutorial and totally agree – the full def goes with a cutesy girly look and half for more of an edgy vibe!! The best part is that it’s easy peasy!! Happy Monday to you, Jalisa!! Xox
Love this, I will surely try to do it soon! You look stunning! Thank you for this tutorial!
X
http://www.britishmilan.co.uk
Oh you must!! So happy you found my blog, girl! I hope you come back to read more!!
Xox Dana Ivy // http://www.iadorewhatilove.com
You look fabulous! I’ve always wanted to master this look <3
Green Fashionista
Aww thanks Kate! I am not so natural in front of the camera but trying to get better!!
Xox Dana Ivy // http://www.iadorewhatilove.com
This is such a cute hairstyle, Dana! I’m a huge fan of any type of top knot, and the half-up half-down version is definitely a favorite. Thanks for sharing, it’s so much easier than I would have imagined!
Kathryn • The Fashionography
Thanks lady!! And totally agree, love the half up half down version the most! And so easy, right?!! Let me know how yours turns out when you do it!! Xox
so cute, I have such thin hair my knot would be embarrassingly small lol… I need extensions haha
Ahaha oh please!! I bet you could do it and it would love great!! Do it in a full on ponytail and let me know what happens!! Xx
This tutorial help me to beautify my hairs. thanks
http://www.ootdchannel.com/
Woohoo! Makes me so happy!! Xox
Love the hair! Thanks for sharing!
xx
Mademoiselle Coconath
http://mllecoconath.com
Thanks lady!! So happy!! Xo
These are sometimes to hard to make but thank you for showing how to!
My Vogue Style | http://www.myvoguestyle.com
Literally it’s the easiest thing!! Promise!! Glad you found this helpful Cami!! Xox
Love this! I have a ton of hair so it gets complicated. Such a cute look!
Cheers,
Rachel
wayfaringrachel.com
Thanks Rachel! The day before taking this pics I cut off 6 inches from my head! I actually found it easier with more hair, but I just used way more push pins! Half-up also eliminates a ton of hair from the bun so I would try that!! Xox
PS so glad you found my blog and I hope you come back to read more!! Heading to yours now =)
So lovely!! Cute look!
Xoxo,
Love from http://www.trangscorner.com {a lifestyle, fashion, beauty, and food blog}
Thanks girl! You should try!! Xx
Lovely!! I would love to try but my hair is short for now!
http://violettedaily.com
Ugh, my mom was mad at me after reading this post because she said it didn’t apply to her since her hair is short too. Pin for later and when you decide to grow out your hair, you’ll know how to topknot it =)
You look so pretty, I love the hairstyle! :) x
Helena – Swedish girl in Tokyo
http://www.ilenczfalva.com/
https://www.instagram.com/helena_de_ilenczfalva/
Thanks lady! So sweet! So glad you found my blog and I hope you’ll be back to read more! Xox
This is such a cute hairstyle and very easy to do as well! This is great for when you want to look put-together and want your hair out of your face but don’t have much time. :)
Jenn
❄The Pink Lemonade Girl
❄YouTube
❄Bloglovin
Yes yes and yes!!!! The easiest thing and super cute! Best combo in my opinion! So glad you found my blog and hope you’ll be back to read more!! Xx
great job! who doesn’t love a fun top knot?!
Xx
Kali
http://www.lovelaughexplore.com
@love_laugh_explore
https://www.facebook.com/lovelaughexplore/
Thanks lady!!! And yes, so true! The best! So glad you found my blog and hope you’ll be back to read more!! Xx
It has been top knot city around here lately. The weather in ATL is awful!!
Oh no really?!!? Well awful weather or not, the top-knot is perfect anytime of year!!!! {especially those lazy days where you still want to look cute!} Xx
Such a cute look – I’m adoring a fun top knot this season!!!
Laura
http://www.blackcoffeebeautiful.com
Thanks Laura! Glad you like!! Xox
I just think top knots are so fun! Love the half up version.
Amy Ann
Straight A Style
Thanks lady! I’m so with you on that!! Xox
Love this hairdo, have to do it later this week, and lovely and useful pictorial!! Xx
http://www.thefashionfolks.com
Yes you must try it!!! Glad you like the pics… my friend Blair is a great photog! Xox
This is so cute, I love the top knot look! Can’t wait to try it :)
Thanks lady!! So glad you checked out the tutorial on the blog! You MUST let me know how yours turns out when you try! I bet your’ll be a master in no time!! Xox
Cute tutorial! I might have to try this out even if I don’t look good with a top knot!
Tina
http://www.justatinabit.com
I bet you would look great with a top knot!!! Don’t sell yourself short girl! Xox
So cute!! I somehow manage to do a top knot when I’m not trying and then when I want one it never works out LOL! xo, Biana –BlovedBoston
I TOTALLY get you girl! I’m that way with an everyday pony!!
Super cute tutorial! I need to try asap!
Xo Lauren
http://www.auburnrobes.com
You def need to try Lauren!! Let me know if you do! Thanks for stopping by the blog and I hope you come back to read more! Xox
I remember seeing this on your IG! I’m so glad you did a tutorial, I love it. This look is so in right now.
— Dara // http://www.peoniesandhoneybees.com
Thanks lady!! It’s so in and so good!! You must try! Let me know what happens please!! Xox
I have been OBSESSED with this hairstyle lately… can you tell from my profile image? haha I love how I can wear my hair up out of my face with most of it still down. Such a cute new take on the half up-half down… I could go on forever! ;)
I’m right there with ya girl!! The best!! Easy and chic!! So glad you found my blog and I hope you’ll be back to read more!! Xox